
The work under the work
Most paving that fails doesn't fail on top. It fails underneath — a base that wasn't compacted, sand that wasn't screeded, a pipe nobody checked. You can't see any of that in a finished photo, which is exactly why every contractor shows you finished photos. We show the stages instead.
The five stages
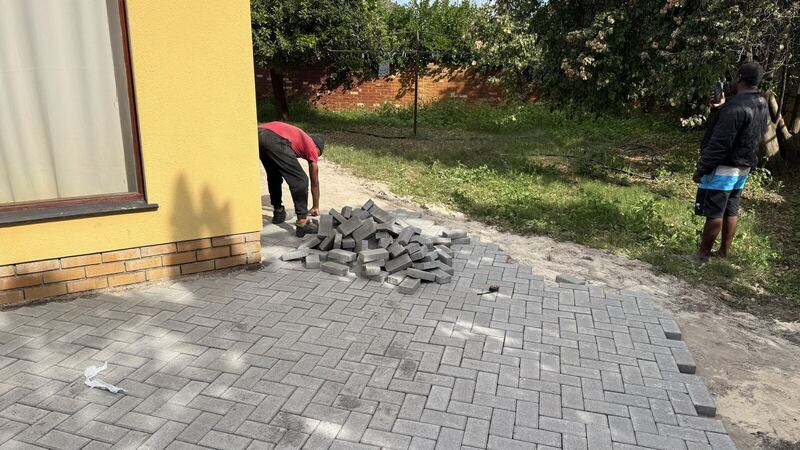
Each photograph below is from a real Shabco job — the courtyard case study.
-
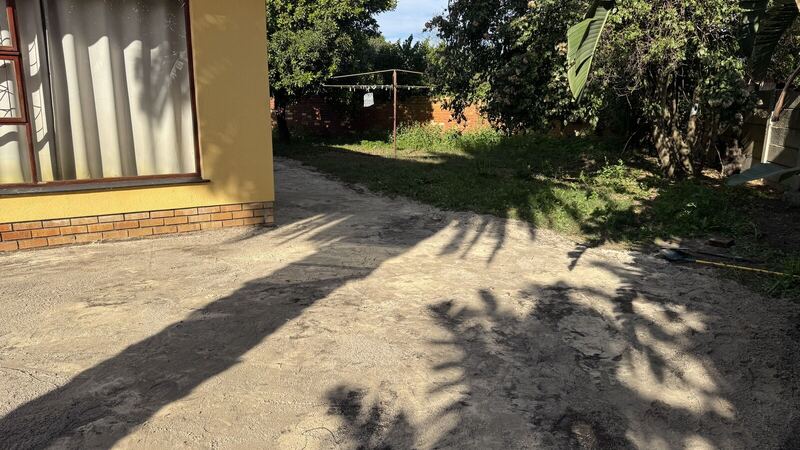
1. Clear and excavate
Strip the ground to firm material, to the right depth for the paver and the traffic it will carry.
-
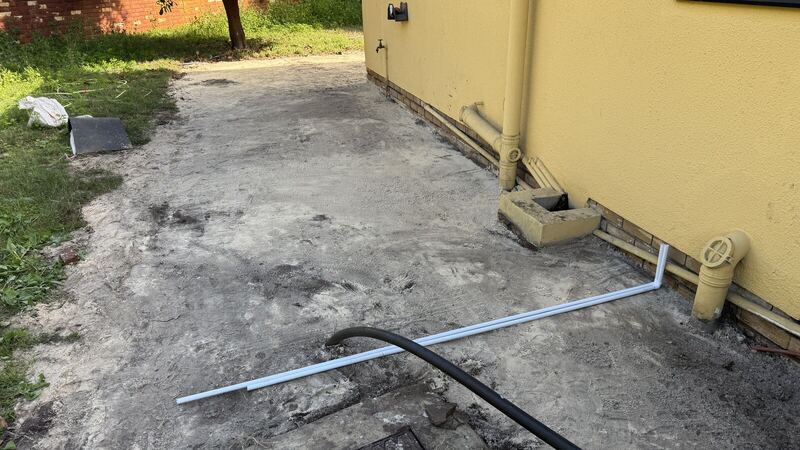
2. Services and drainage
Find every pipe, gulley and manhole before the sand goes down. Sort falls so water runs away from the house, not into it.
-
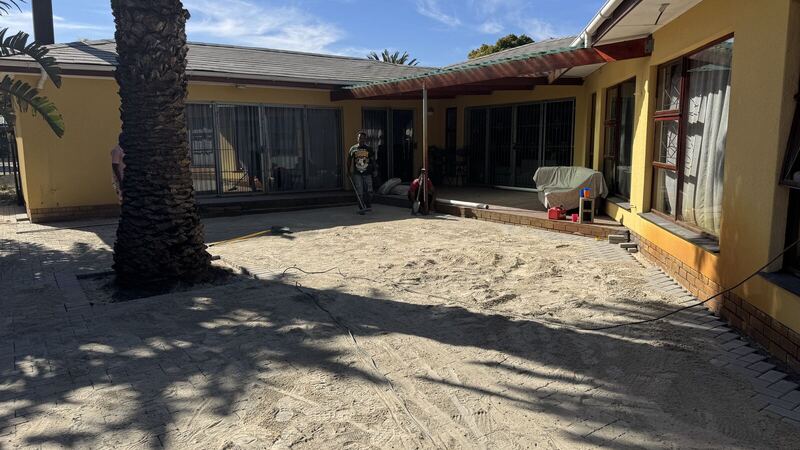
3. Sub-base and bedding sand
Compact the sub-base, then screed a level bed of sand. This is the stage that decides whether your paving is flat in five years.
-
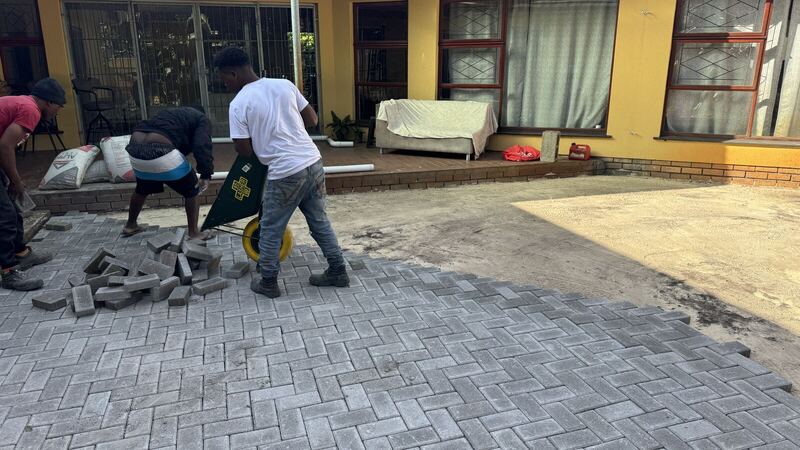
4. Lay and cut
Lay the field to pattern, then cut closures with a grinder — around trees, manholes, edges. Tight cuts are the difference between neat and botched.
-
5. Compact and finish
Bed the field in, sweep jointing sand, check falls, clean up.


What a quote includes
Written and itemised: the area measured, the paver and pattern agreed, ground preparation spelled out, drainage noted, a start date and a duration. If we open the ground and find something unexpected, you hear about it the same day, with options and prices — not an invoice at the end.
The guarantee
PLACEHOLDER: written workmanship guarantee — term and wording to be confirmed before launch.
Want to see the five stages on a real job — or talk about yours?